Hey Crafters!
A few days ago I was on Cricut.com and I saw an example of a customized notebook that I was inspired to make. At that moment I had also I realized I hardly ever do papercrafts. I think it’s partially because the first few times were quite challenging, however, they were successful. I began creating my template on Cricut Design Space which I learned how to do through a few youtube tutorials which I have included below. I also learned two more crucial tops in those tutorials. One being how to line up two shapes or objects you have on your canvas. This was really helpful for making my crease. The other tip was how to gently take the paper off of the sticky mats. This was primarily what caused the most grief in the other papercrafts I had done. The technique was to turn the mat upside down and curl the mat off of the paper, this way your paper is less likely to curl…and boy did it ever work!
Watching the machine draw onto the card was really neat, but a bit slow. I’ve included a video below of the process (in real speed).
Some of my troubles…
I had planned on putting 20 pages into the notebook, but because I didn’t really create a spine the book filled up quickly and I was only able to put 12 pages in. Next time I’ll create a ½ inch spine so that I can put more pages in the book. I also ran into trouble binding the book together. I didn’t want to over-complicate my first attempt at a notebook so I just used staples. This seemed like it would be really simple except my stapler wasn’t quite the width of my notebook so the staples didn’t end up on the spine of the book.
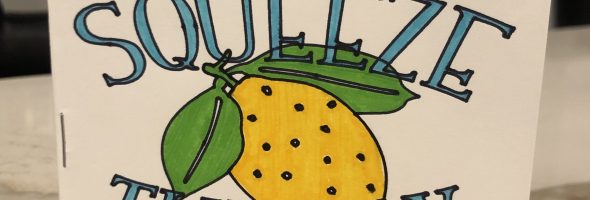
Heres the end result!


All in all, I would say I surprised myself with this project as it was a bit far out of my comfort zone. To say the least, I went into this project a little blindly, but it worked! I am very proud of myself for this project, and I have already started planning my next notebook. I can’t wait to write about it in a future blog!
Happy crafting!

